Building the BAR
Our humble beginnings
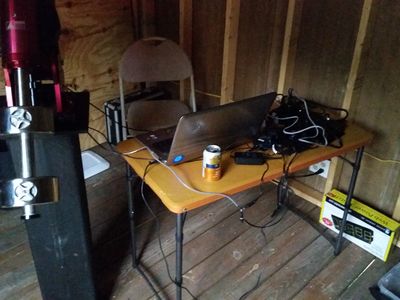
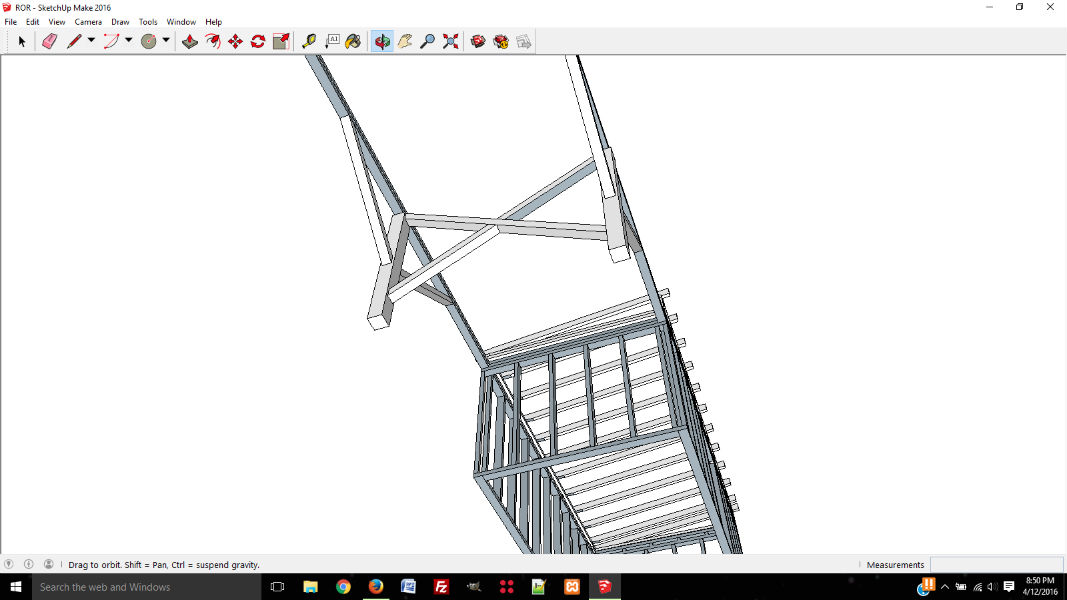
It all started back in March of 2016 at the Pickett State Park Star Party; a certified International Dark Sky location. Shawn and I were talking about how much we both would love to have an observatory to house our equipment. Shawn already had a small setup, and I was in the process of planning something out for my home. However, he had a darker location, and we both realized that it would also be much cheaper and larger if we did this together. So from March until June, using SketchUp, I drew up plans for the design, and we discussed the details until we were both happy with our design.These are the first designs we came up with:
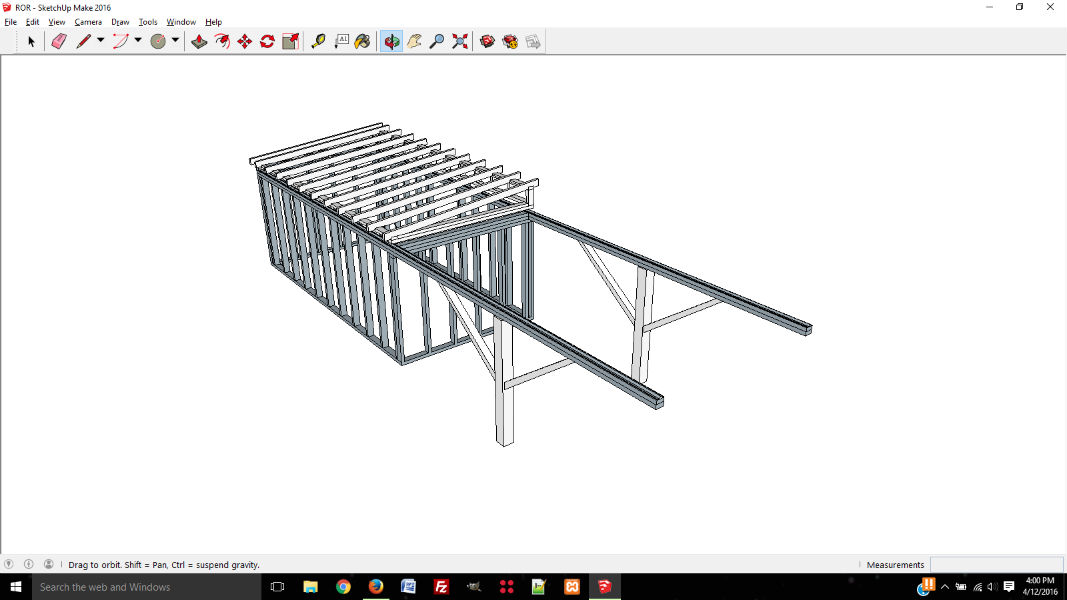
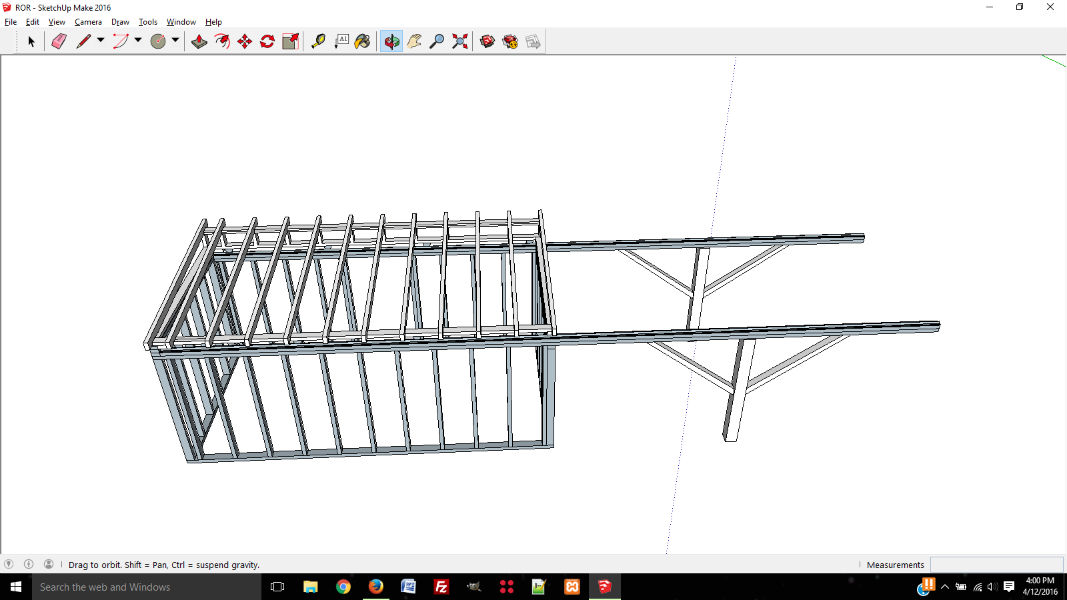

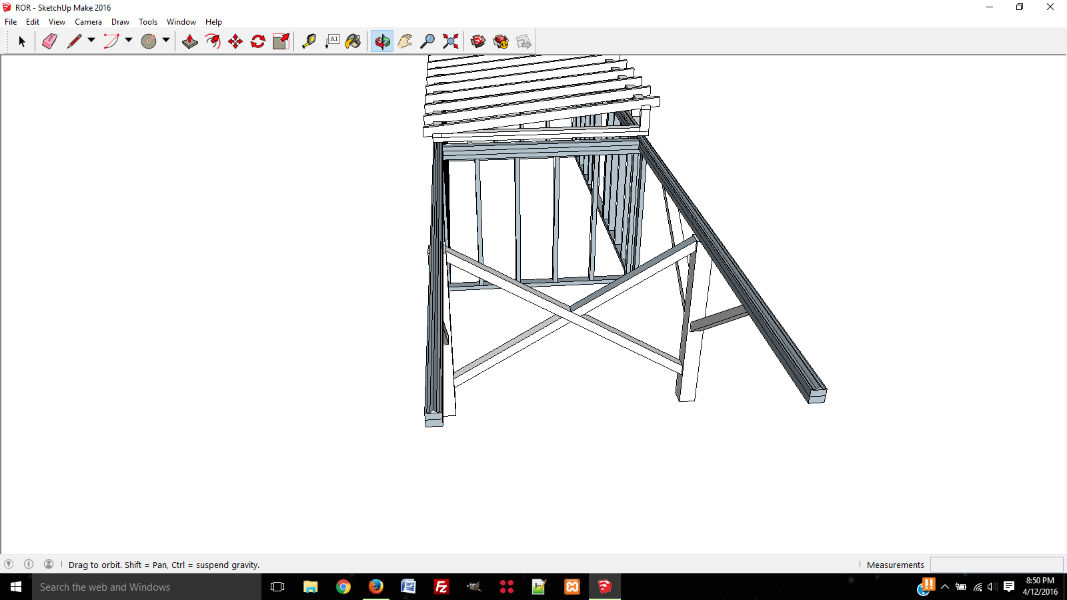
Not only are two heads better than one, but there is also a great community of astronomers out there who have already endeavored on similar projects. I reached out to them at Cloudynights.com to get their opinions of our design. We received many critiques; they offered suggestions and solutions to help us make our design better and not fall into traps others had faced. This was our first revision that provides more structural integrity:
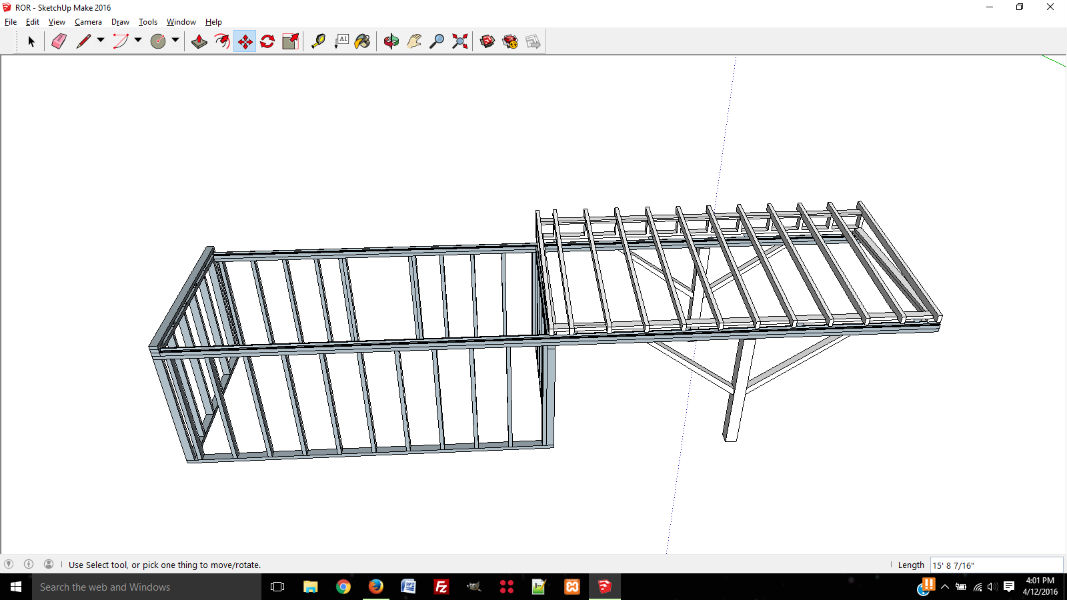
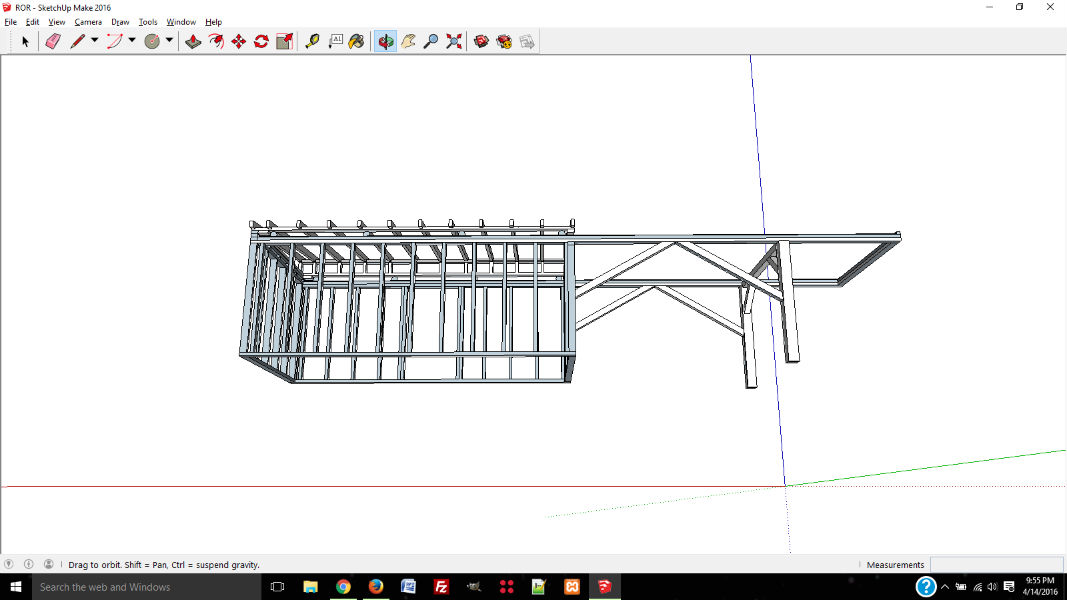
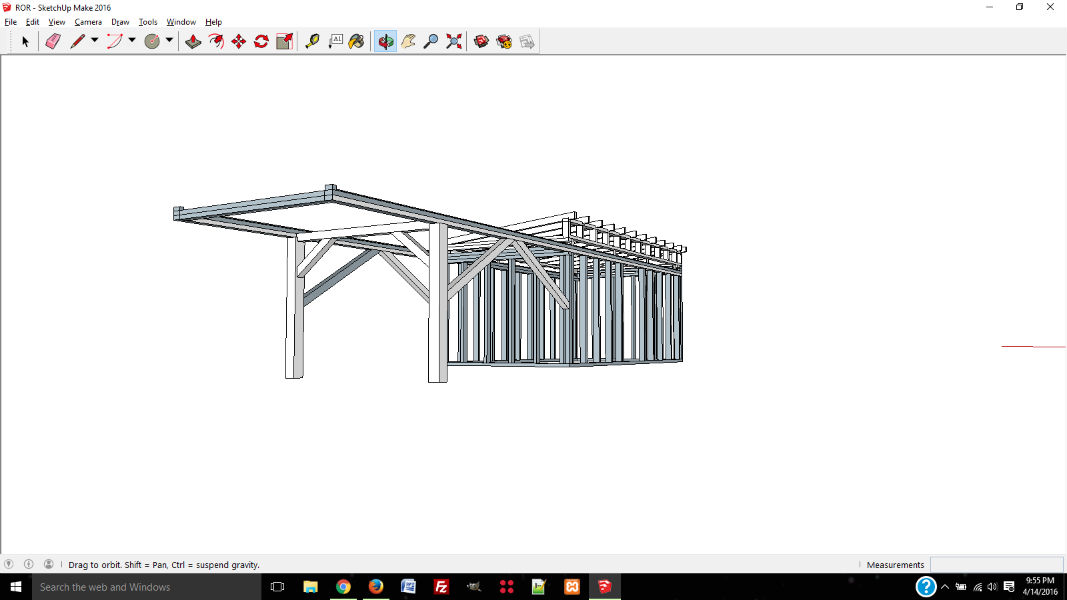
After some more careful review and discussion of the suggestions we made some more changes and re-presented our design for peer review. This was it! Everyone believed the changes we made were good and would provide us years of happiness. So starting in June, we moved forward with construction.
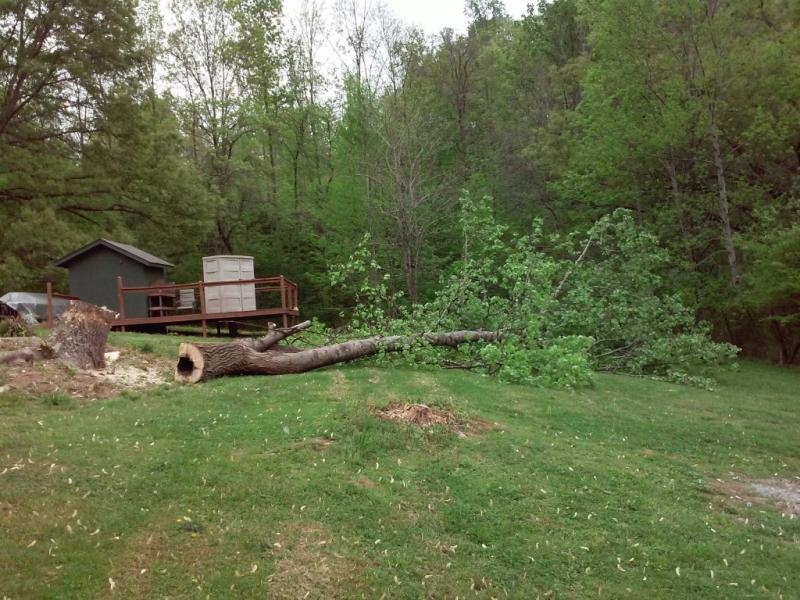
Timber!!!
All of these photos are the journey that Shawn and I took to build our dream, starting with a tall tree that needed to come down first. "Timber" he yelled as it came crashing down. Not really, or at least I don't think so. My observatory partner cut it down without me, but I helped cut it into smaller chunks and move them to a large firepit.
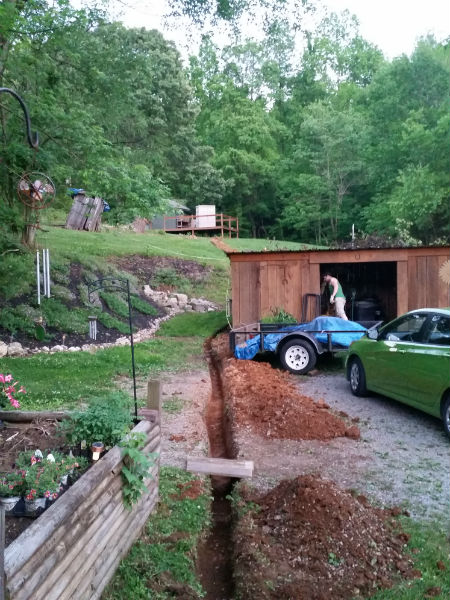
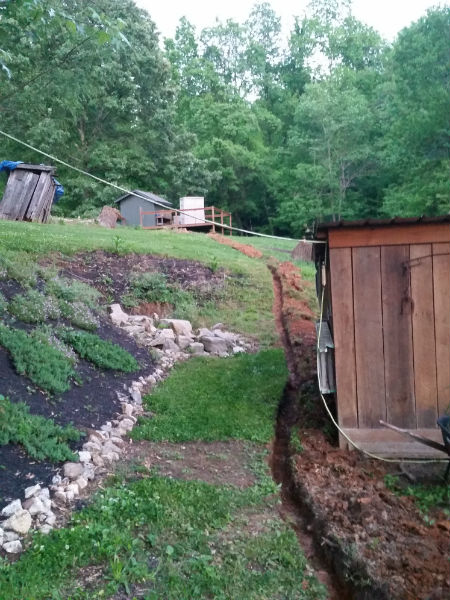
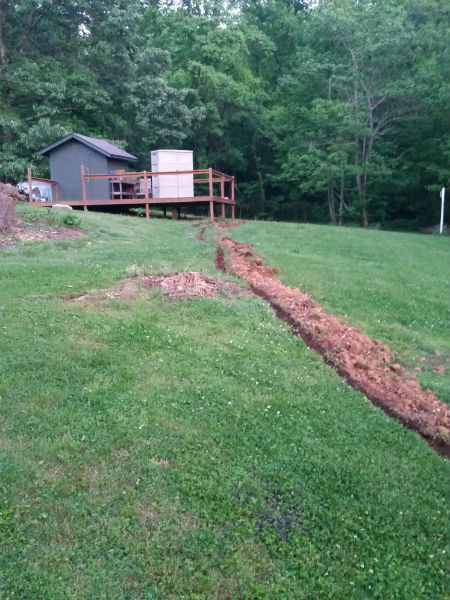
Digging the trench
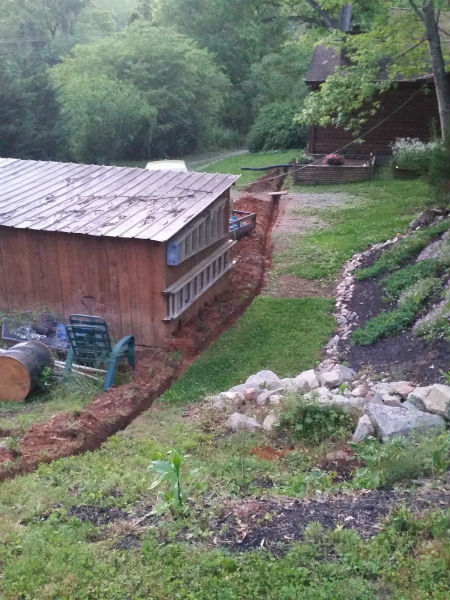
The next thing we had to do was dig a trench 200 feet up to the Observatory site to run power and ethernet cables.Yes, if you were wondering, this was all dug by hand... seriously.
Digging the holes
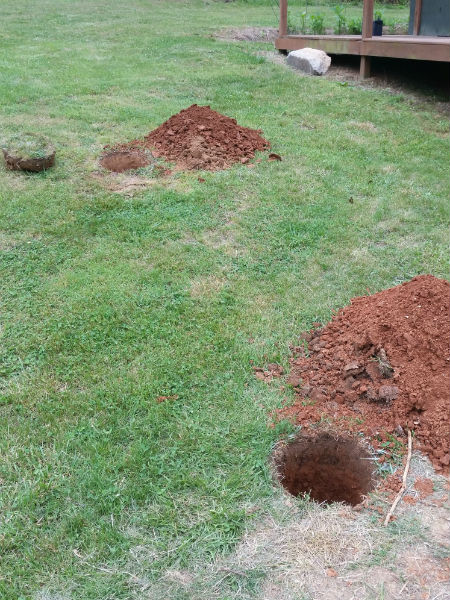
Two footers had to be dug for the two pylons that would support the roof when open. The holes were dug four feet deep and partially filled with rock for drainage, and then two 6" x 6" 15' length posts were dropped in.
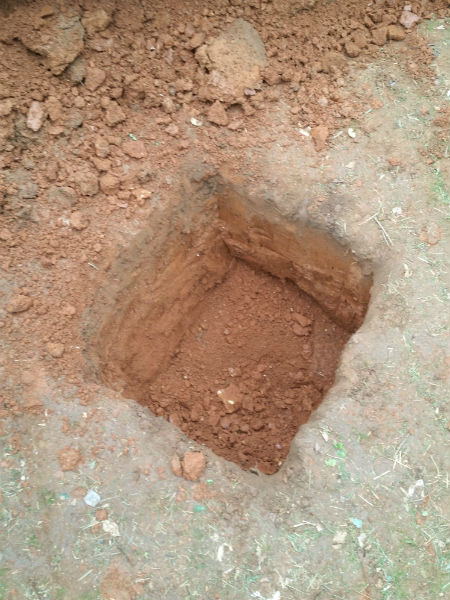
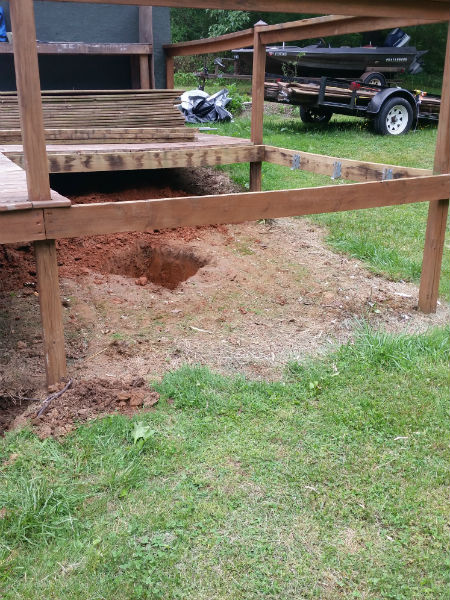
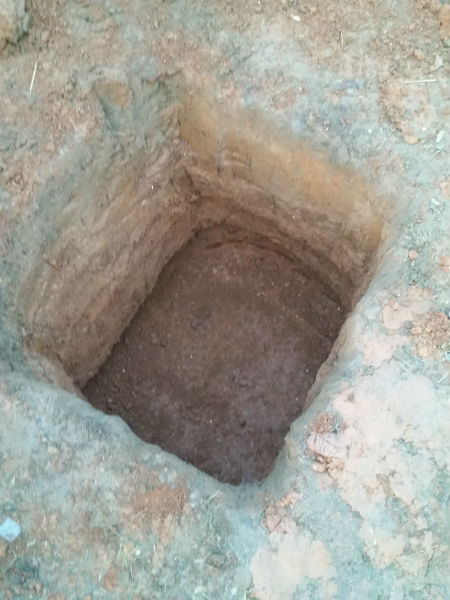
Boy oh boy, was this a fun dig. This was for my pier and it required a 1-yard square foot hole to be dug. Took a whole day, because like the trench it was all done by hand.

Baby Steps
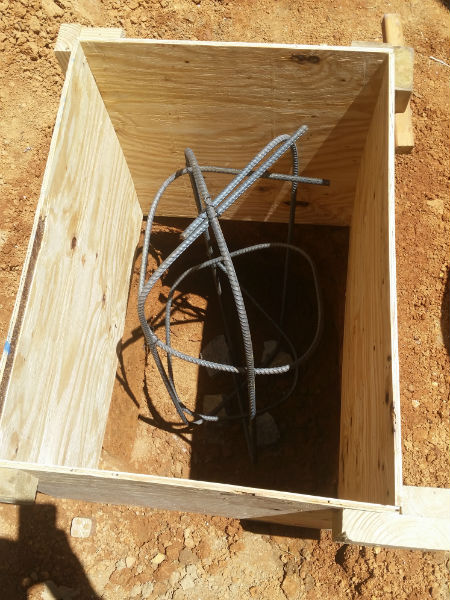
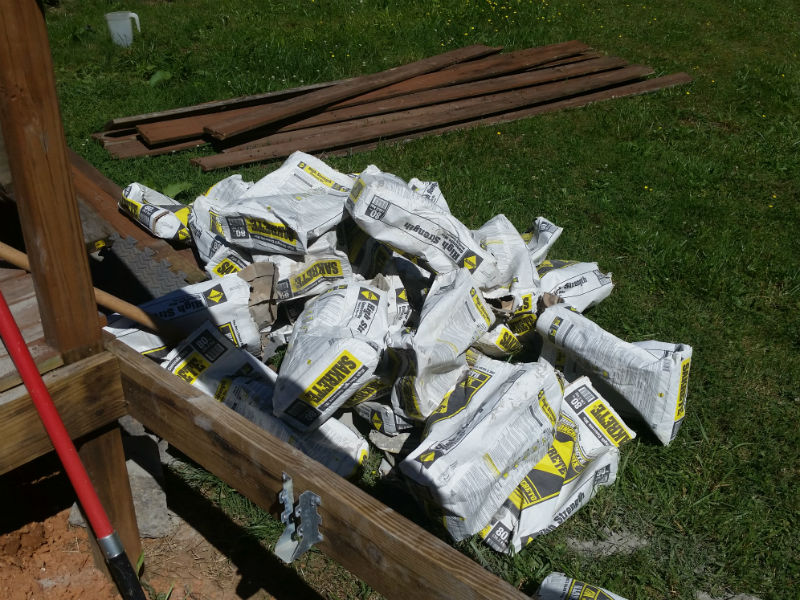
After the dig was complete, the next step was to build a retaining wall to get the desired height that would support the metal pier. To provide structural integrity rebar was placed inside and the concrete was added. Luckily I had a friend who owns a concrete mixer, but it still required some hand mixing. Thankfully Shawn helped me with the mixing and pouring.
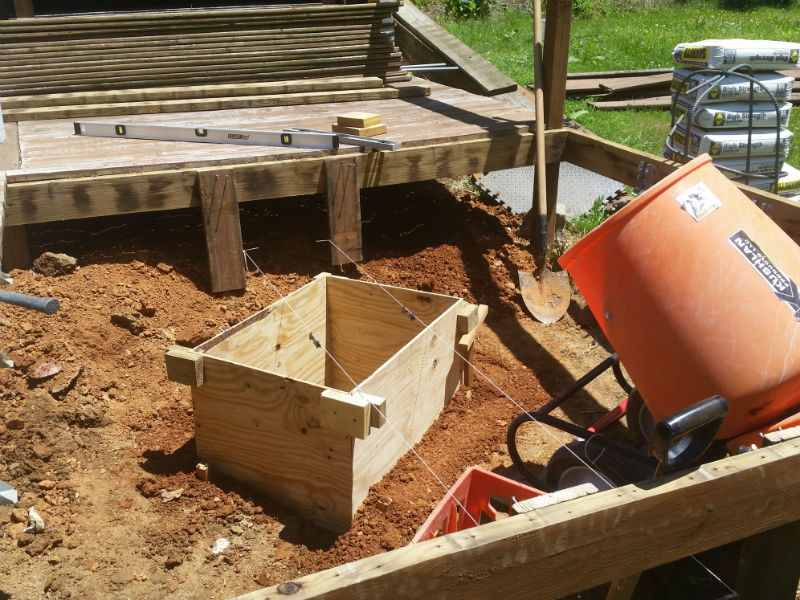
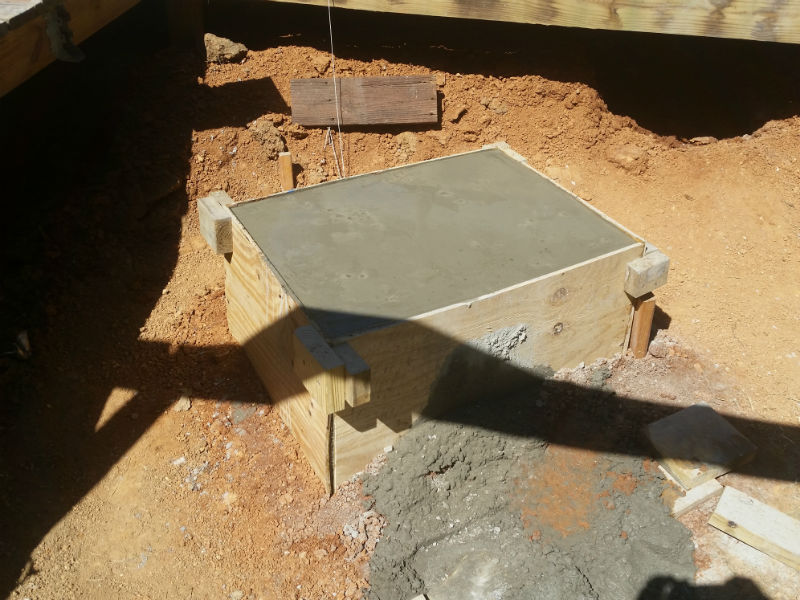
It only took a few bags, (31) 80lbs bags to be precise, and half a day to mix it all together, lol.
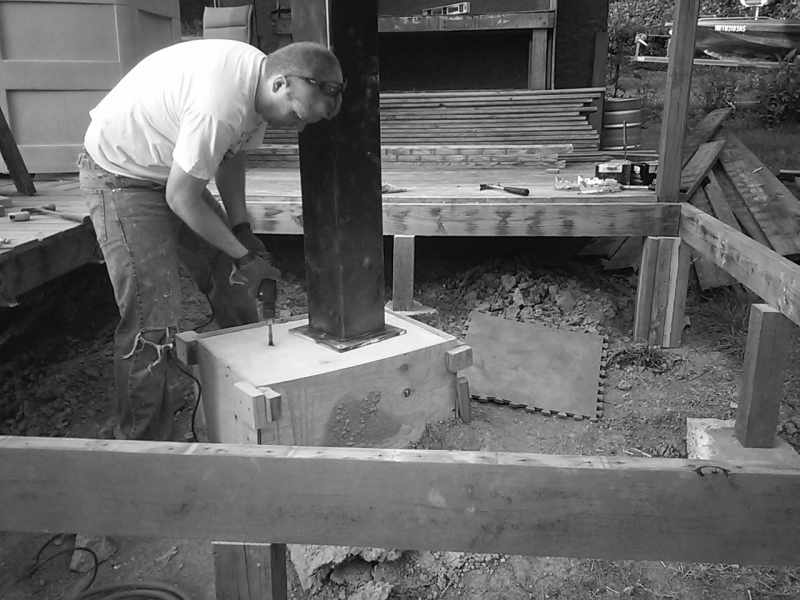
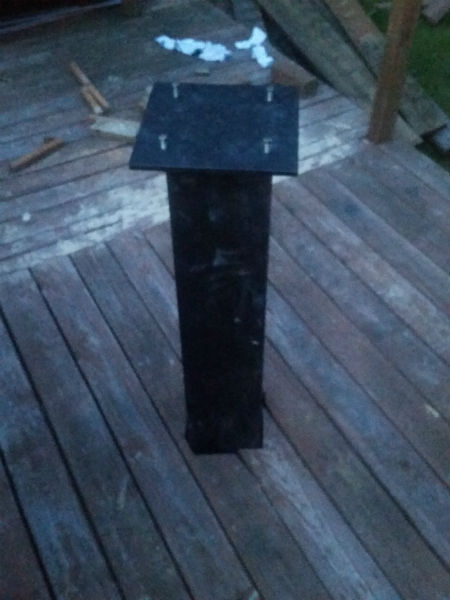
Once the concrete had set, it was time to drill the holes for the metal pier.
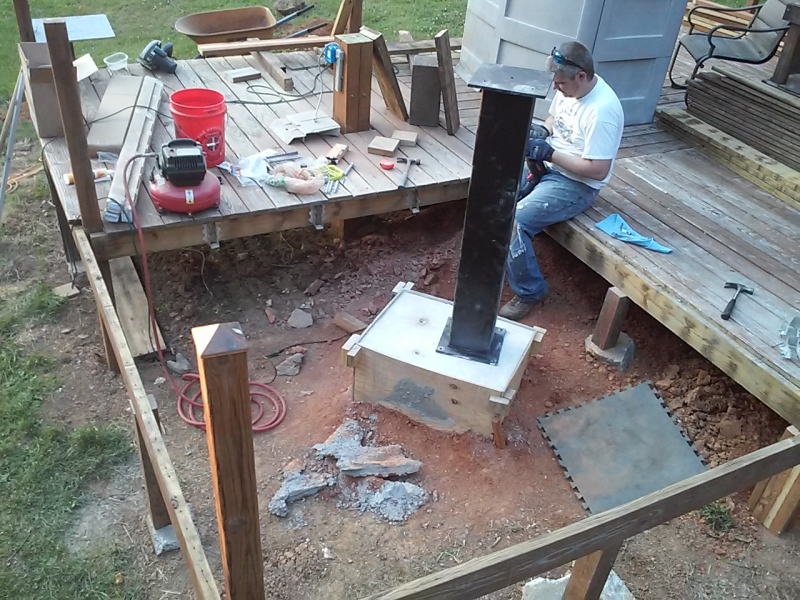
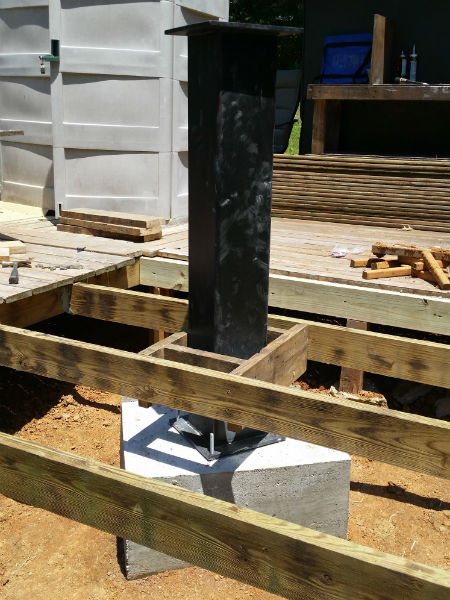
The next step was to mount the metal pier and then replace all the flooring to start the main build.
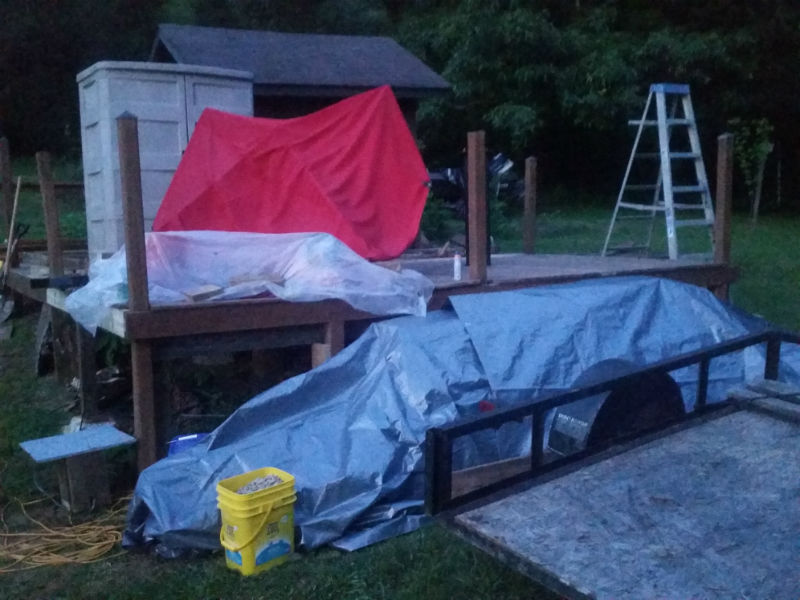
At this point, everything was ready for the building to start being constructed. Unfortunately, the rain was coming in, so we had to close up for the night and wait a few days before the real construction began.
Starting to build
Construction begins!!! We didn't stop or bother to take many pictures. We were too excited to start the building process, but I at least had to capture a few moments throughout the build. Would have been fun to do a timelapse but we never did.
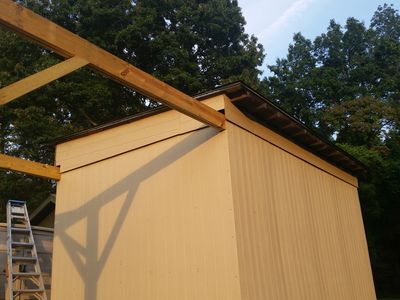
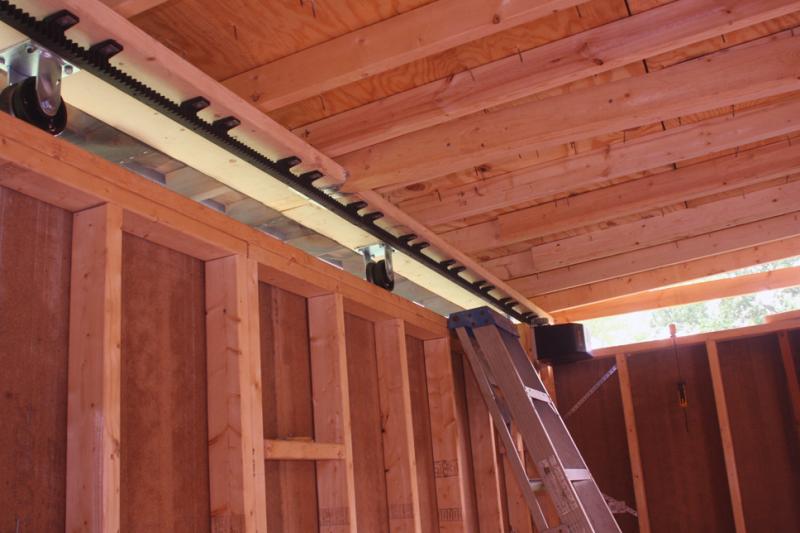
These are the runners that hold the track that allow the roof to move off of the building.
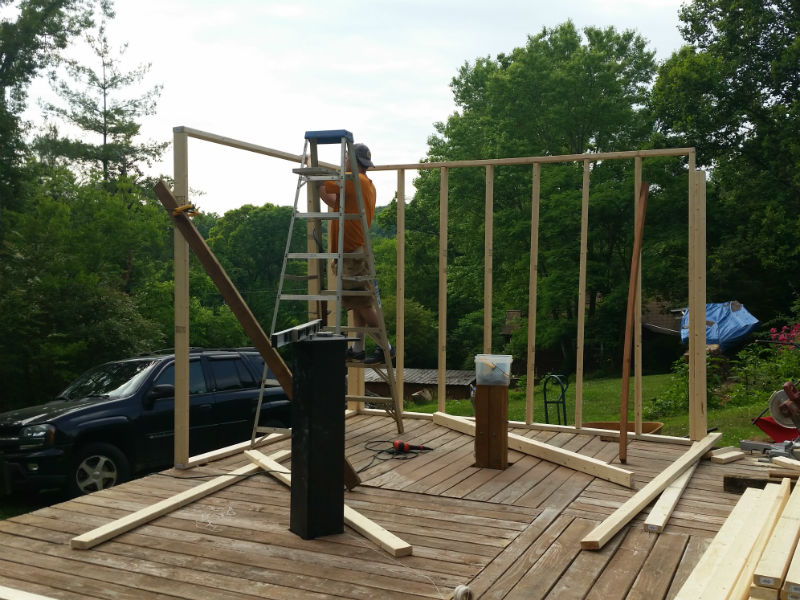
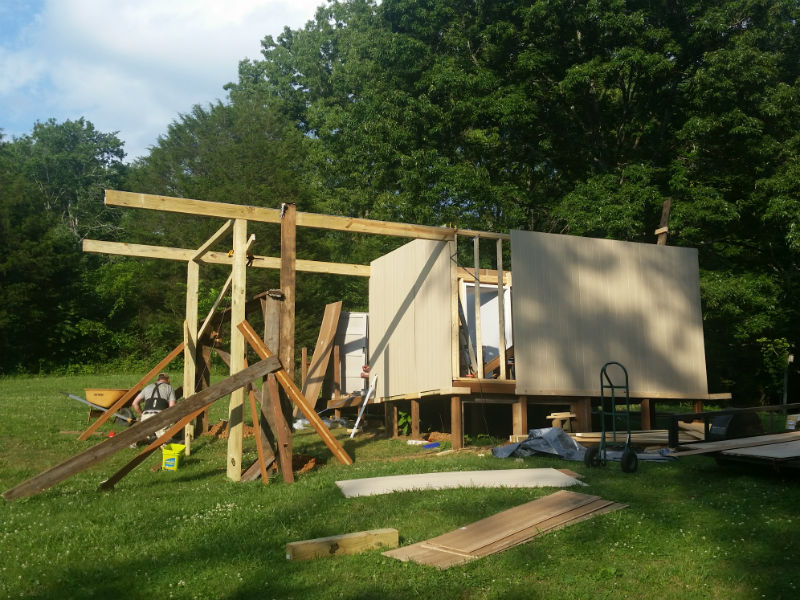
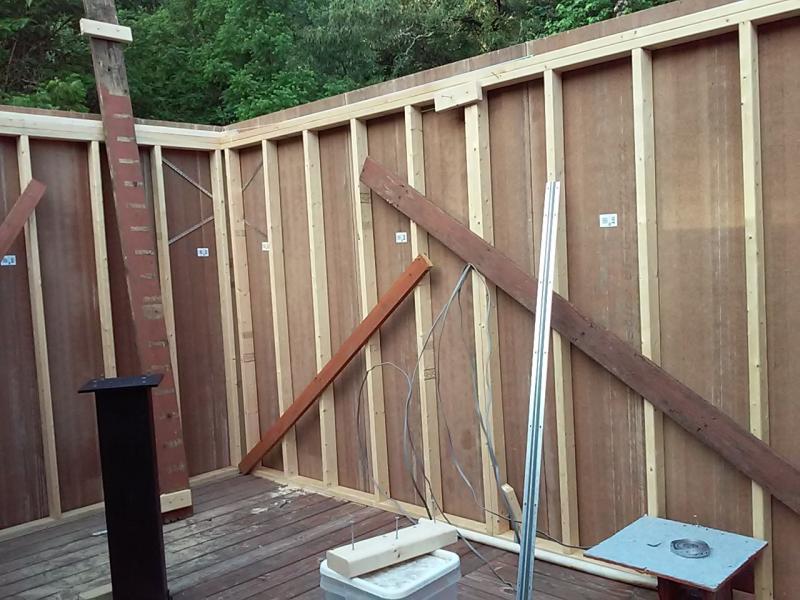
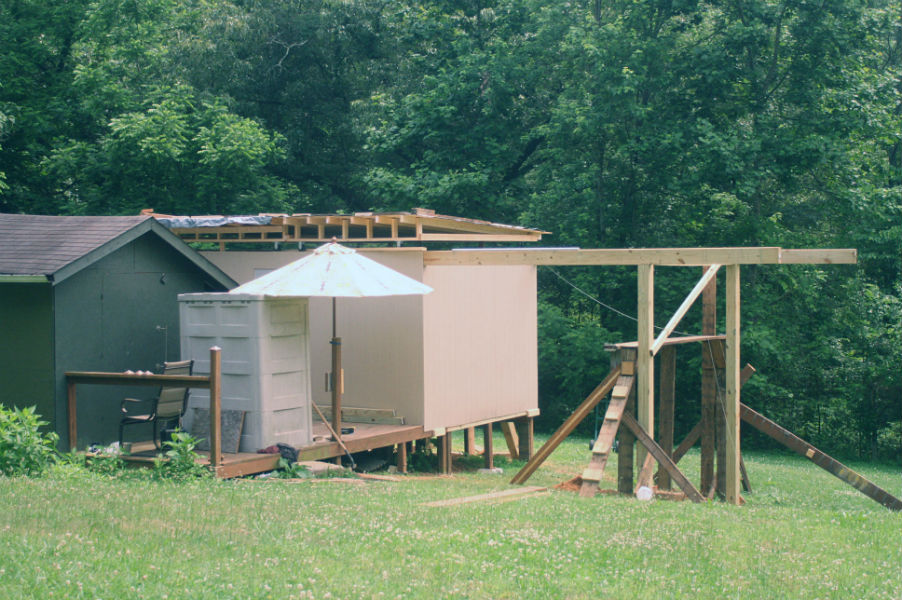
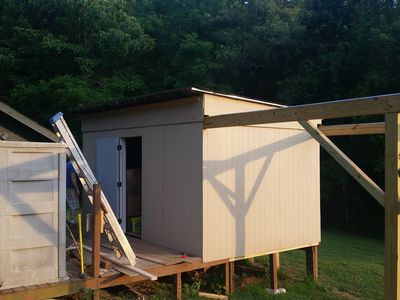
As I mentioned before, we had to bury two pylons, but they were too tall and had to be cut down. So here we are on our homemade scaffolding, measuring and cutting to the desired height.While he cut those, I hung up siding.
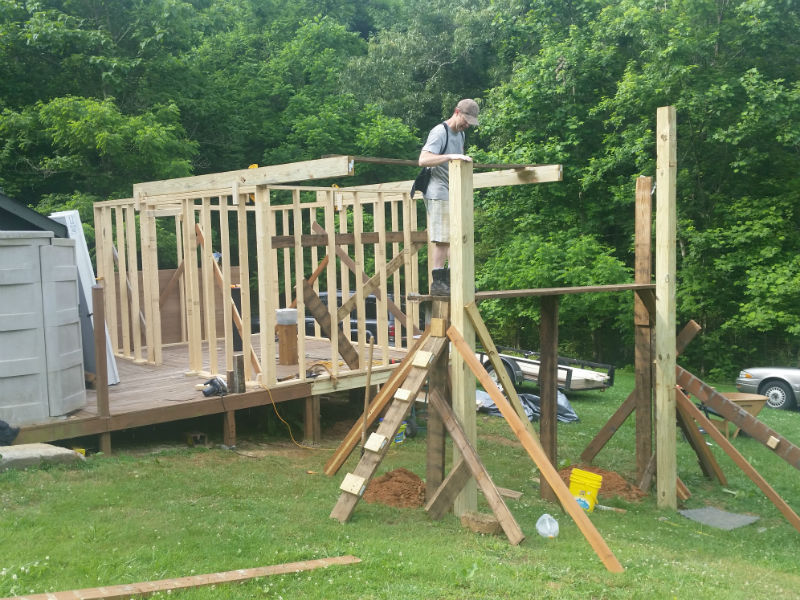
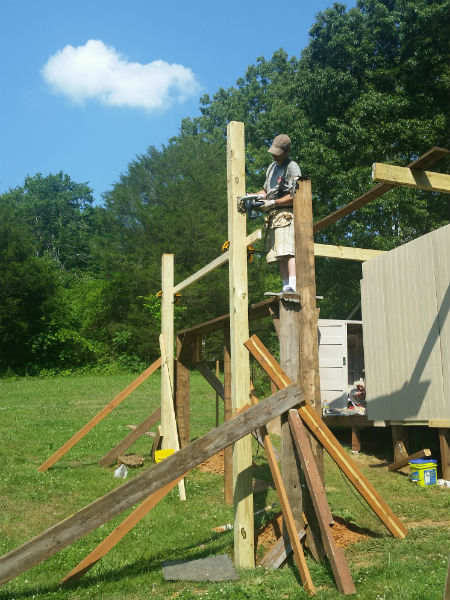
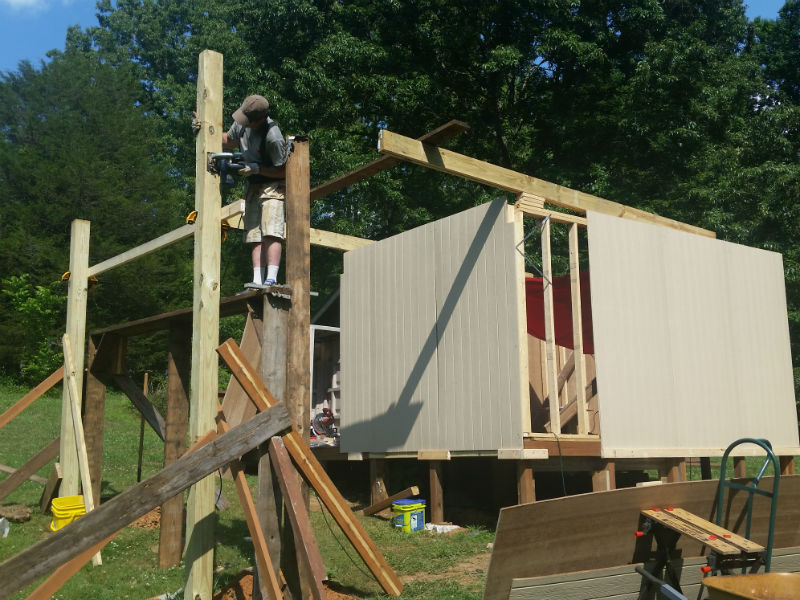
It was nerve-racking cutting the pylons, if we didn't get them both right the first time the roof wasn't going to sit or open correctly, and that would have set us back; requiring us to dig out the original post and then try over again and a 6" x 6" 15' post isn't cheap or lightweight either.
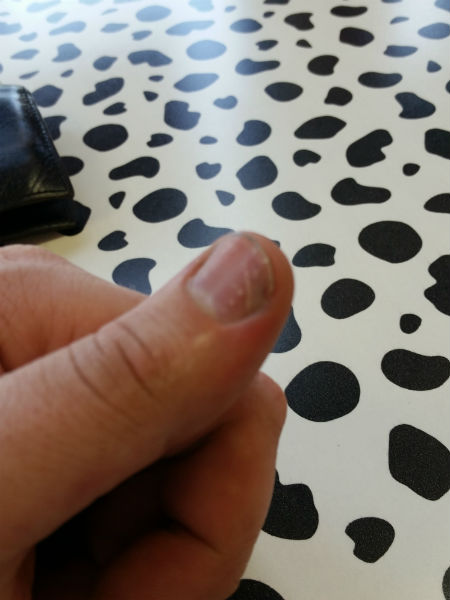
I of course, also had to include a photo where I smashed my finger while doing some hammering.
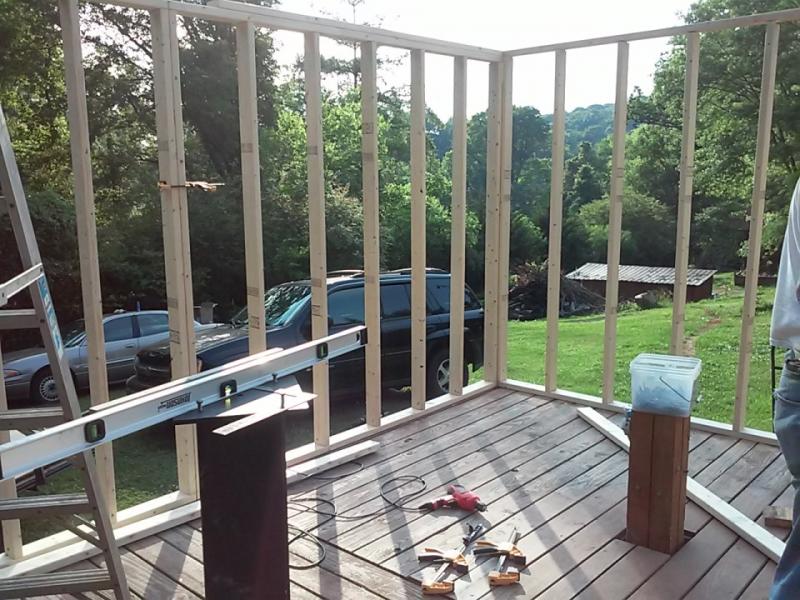
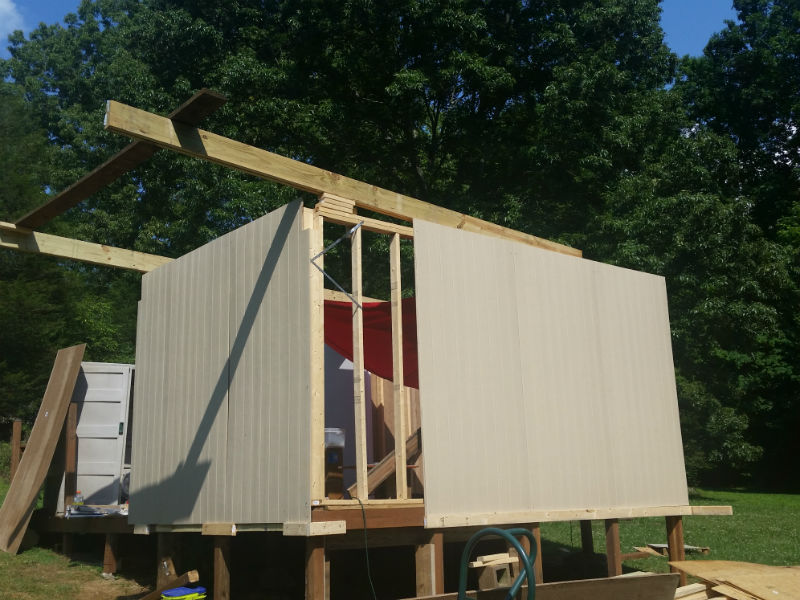
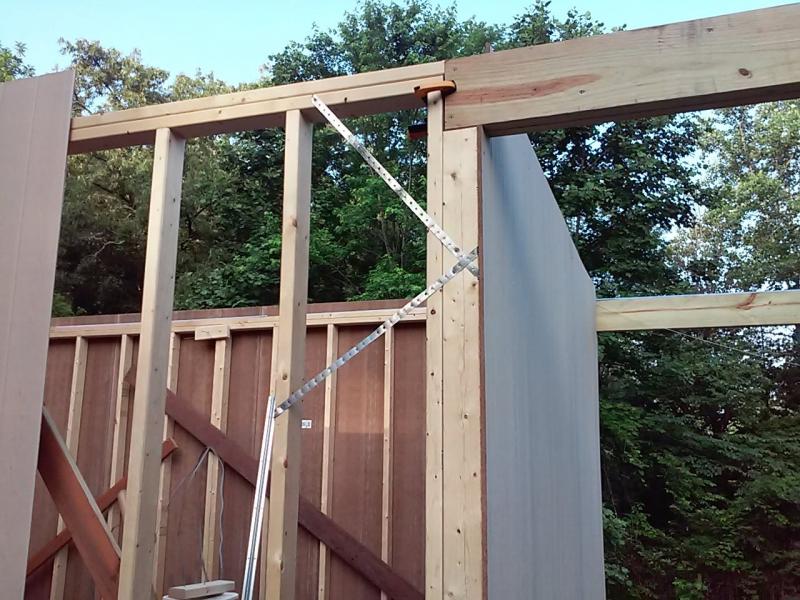
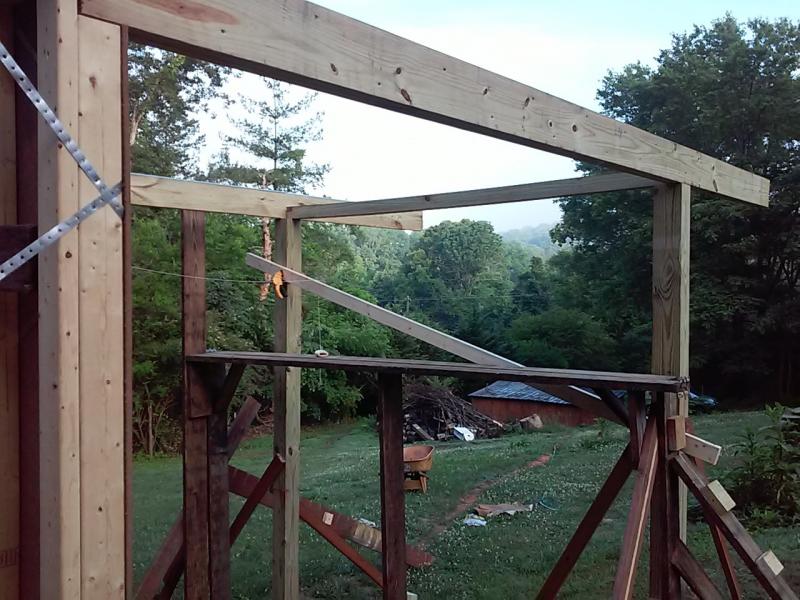
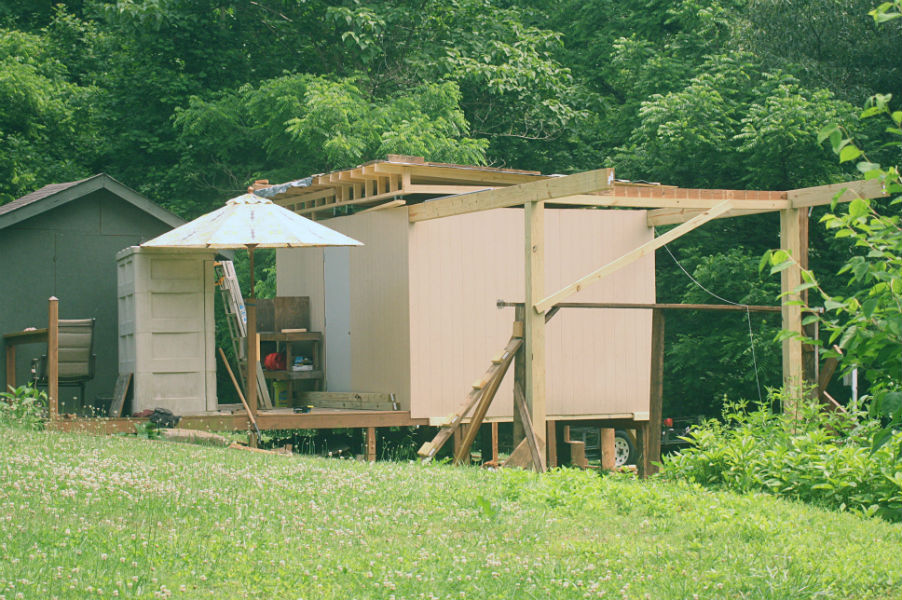
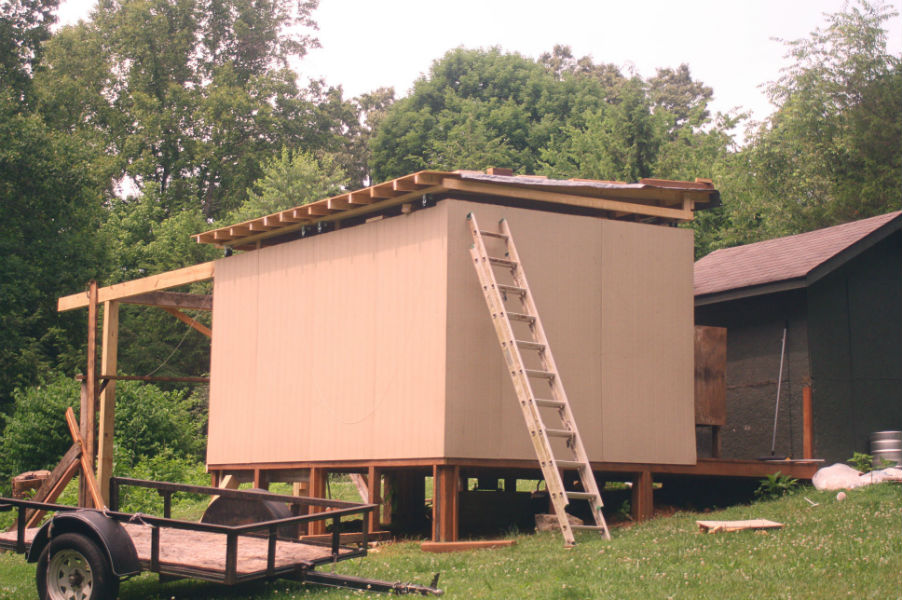
The beams and the walls are finished!
Adding a roof
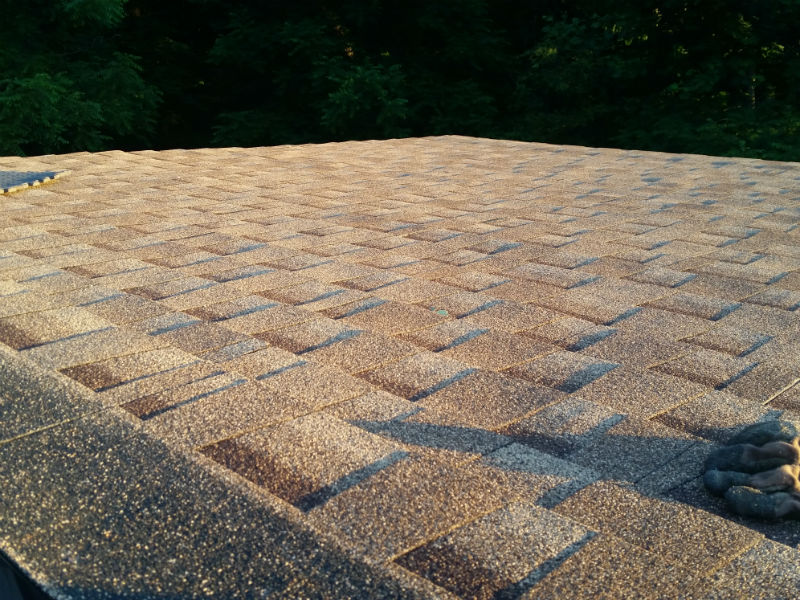
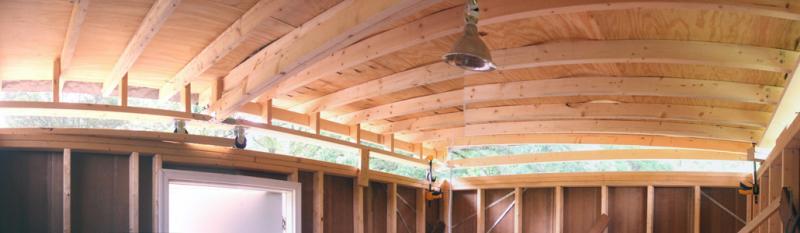
Once the sides were all up and the skeleton structure to hold the roof was in place, it was time to finally add on the roof.I have to hand it to those that do roofing; this is no easy task, each of the shingle packs weighed well over 50lbs. Carrying all of those up the ladder and then baking ourselves in the sun, my gosh. At least it's done.
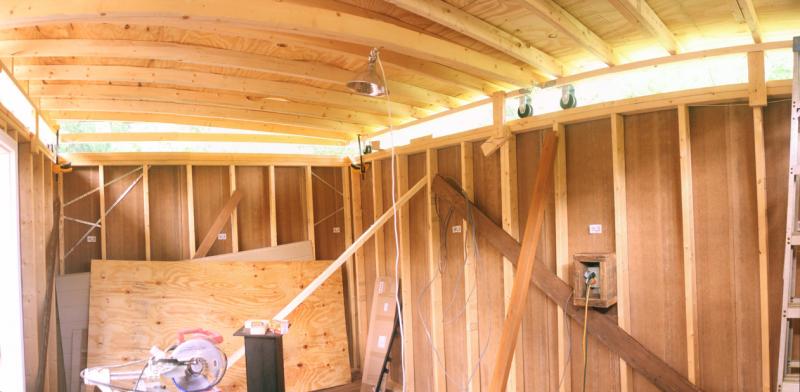
Here's the inside view of the roof all put together.
The home stretch
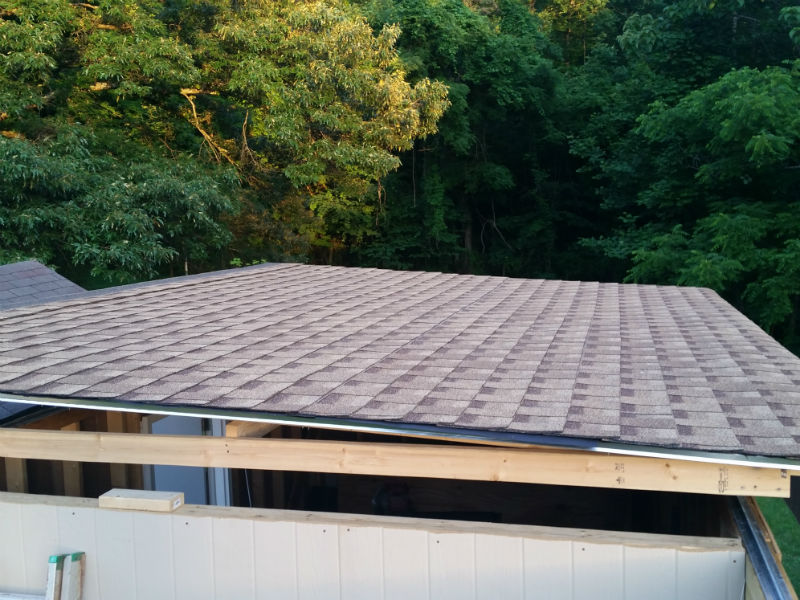
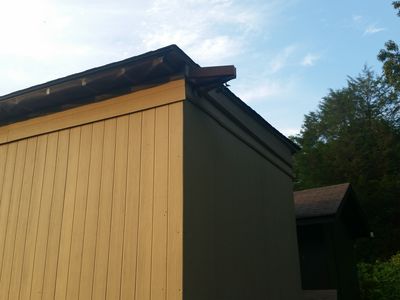
Well, almost the home stretch. Things were coming along; there were still plenty of little projects to complete. All we needed to do was finish adding siding to the roof, add screen for airflow and stop bugs, and then start the work on the inside of making the remote operations happen and installing our equipment.
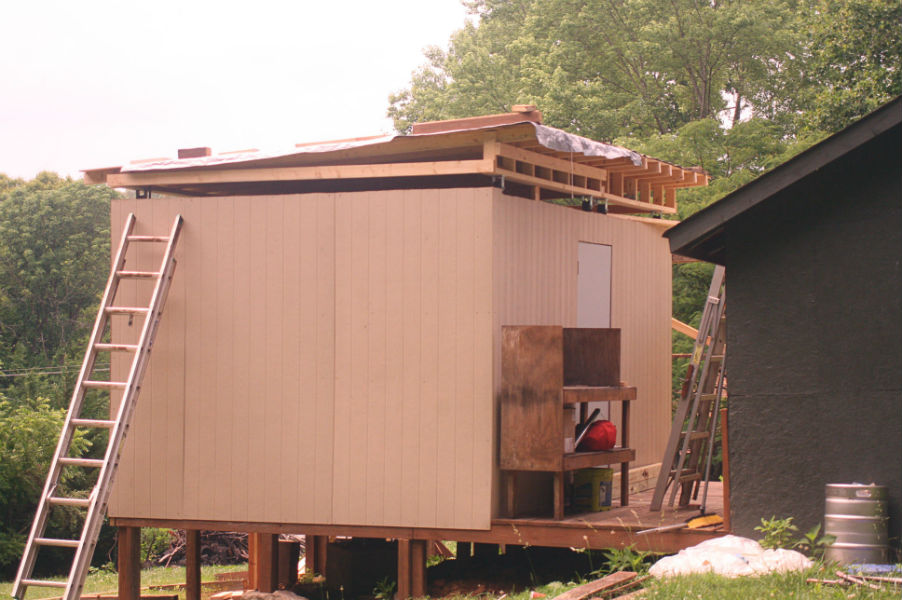
The panel and screen were added, and this is the finished product. Now finally work could begin on the inside!
Come on in
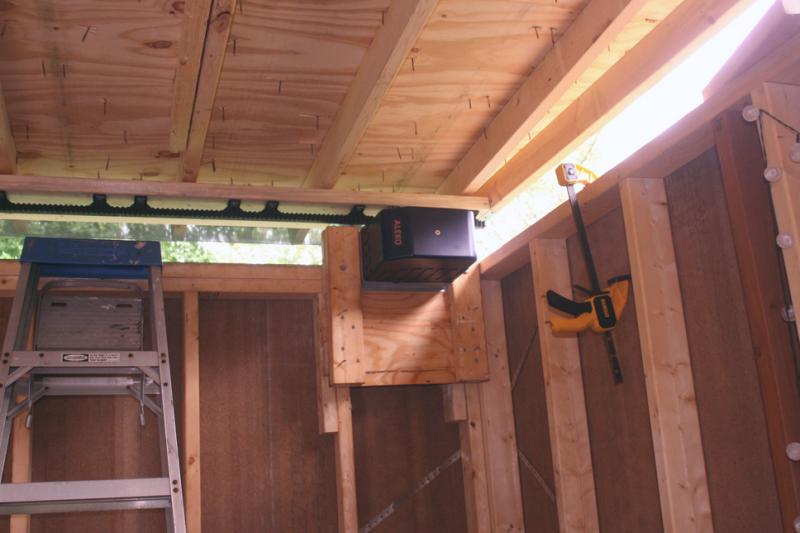
There were many different ways that people have made their roof open. We choose to go the route of using a sliding gate entry system but put it on its side. This provides more than enough torque to move the roof open in about 30 seconds.
Action
It works!!! It works!!!Of course it works, we knew it would.
Moving In
Now that everything was working, it's time to start the move in and begin calibrating the equipment and adding the final touches to our new home.